Quickstart
Take one GitHub repository from sign-in to its first merged pull request in about ten minutes. The steps follow the Get started checklist that Kosuke shows on the Projects page and under Getting started in the sidebar. Each checklist item ticks itself when you finish it.
The deploy runs only on the workspace's Anthropic or OpenAI Credentials, even when your chat sessions will use a GLM Coding Plan, Kimi Code or your own Subscription. Connect one of them to the workspace before you import.
Before you begin
- A GitHub repository you can install the Kosuke App on.
- An Anthropic or OpenAI account. An API key works, and so does a Claude Code or Codex login.
Create your workspace
- Go to app.kosuke.ai. Press Continue with Google, or type your work email and press Continue.
- If you chose email, type the 6-digit code Kosuke sends you. The code expires after 5 minutes.
- On the Welcome to Kosuke screen, type a name in Workspace Name. If you have a promo code, type it in Promo code.
- Press Create Workspace.
The Projects page opens with the Get started card, and "Create your workspace" is already ticked. A new workspace starts on a Trial. Your first workspace gets Free Credits. They are granted once per person, so a second workspace starts with none. See Plans and billing.
If a teammate invited you, open the link in the invitation email instead. You join their workspace, and an admin there handles the next step.
Connect your workspace AI provider
Only the workspace's owner or an admin can do this. You are the owner of a workspace you created.
- On the Get started card, press Connect your workspace AI provider. Settings opens on Settings > Workspace > AI Providers.
- Under Anthropic or OpenAI, connect one method, such as an API key or a Claude Code login.
The checklist ticks "Connect your workspace AI provider". You can also connect your own Claude or Codex Subscription in Settings > Your Account > AI Providers. Chat sessions you are the Assignee of then run on it. See AI providers.
Import your project
- On the Get started card, press Import your project. You can also click + next to Projects in the sidebar. The Import Project dialog opens.
- If the dialog reads "Connect your repositories", press Install on GitHub. Pick your repository on GitHub and authorize Kosuke. You come back to the dialog. If your GitHub organization already has the app, press Connect GitHub under the button instead.
- Open the Repository list and pick your repository. If it is greyed out, click Install App beside it and add it on GitHub. You come back to the dialog.
- Press Import Project.
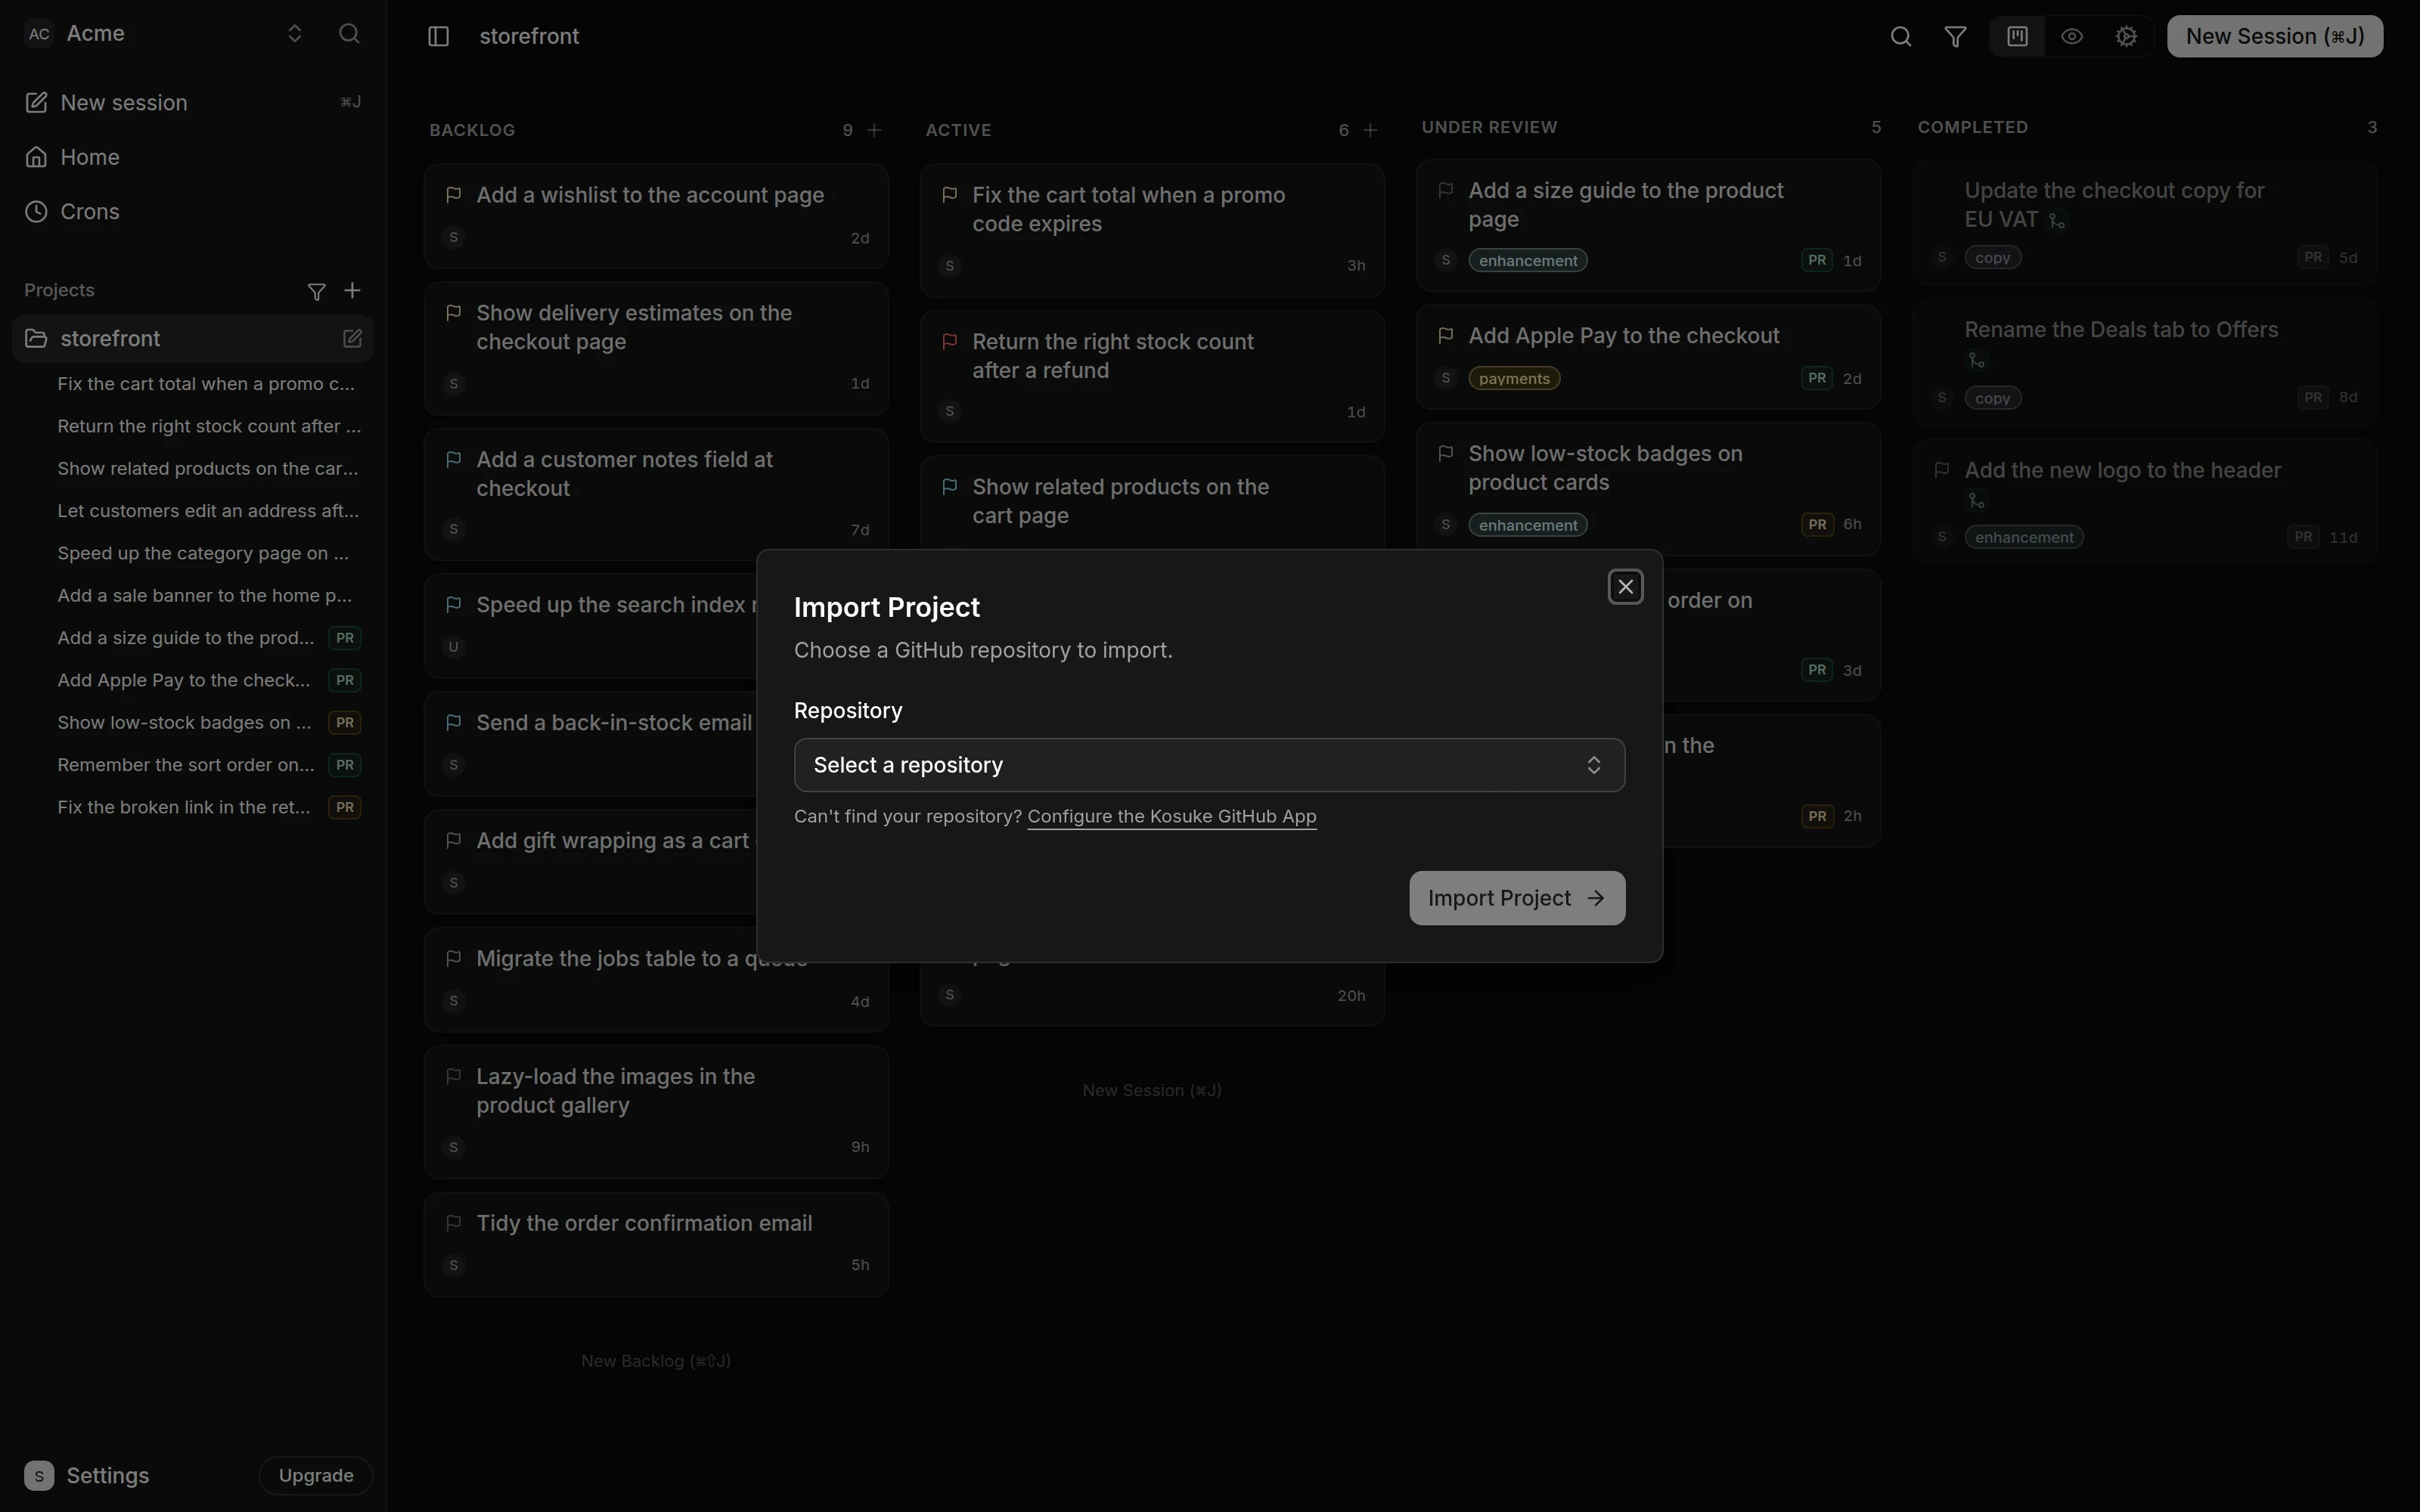
Kosuke opens the project's Settings view, and the sidebar marks the project SETUP. Open pull requests on the repository appear on the project's board as sessions. See Import a repository.
Deploy the project
- In the Deploy Chat on the left, press Deploy. You can type instructions for the deploy agent first.
- Follow the progress in the chat. Kosuke adds a line for each phase, such as Creating sandbox, Starting services and Promoting the new sandbox.
- If the agent asks a question, the message box reads "Answer the deploy agent...". Type your answer and send it.
The deploy is done when the chat shows "Deployed · Your project is live." The checklist ticks "Import your project".
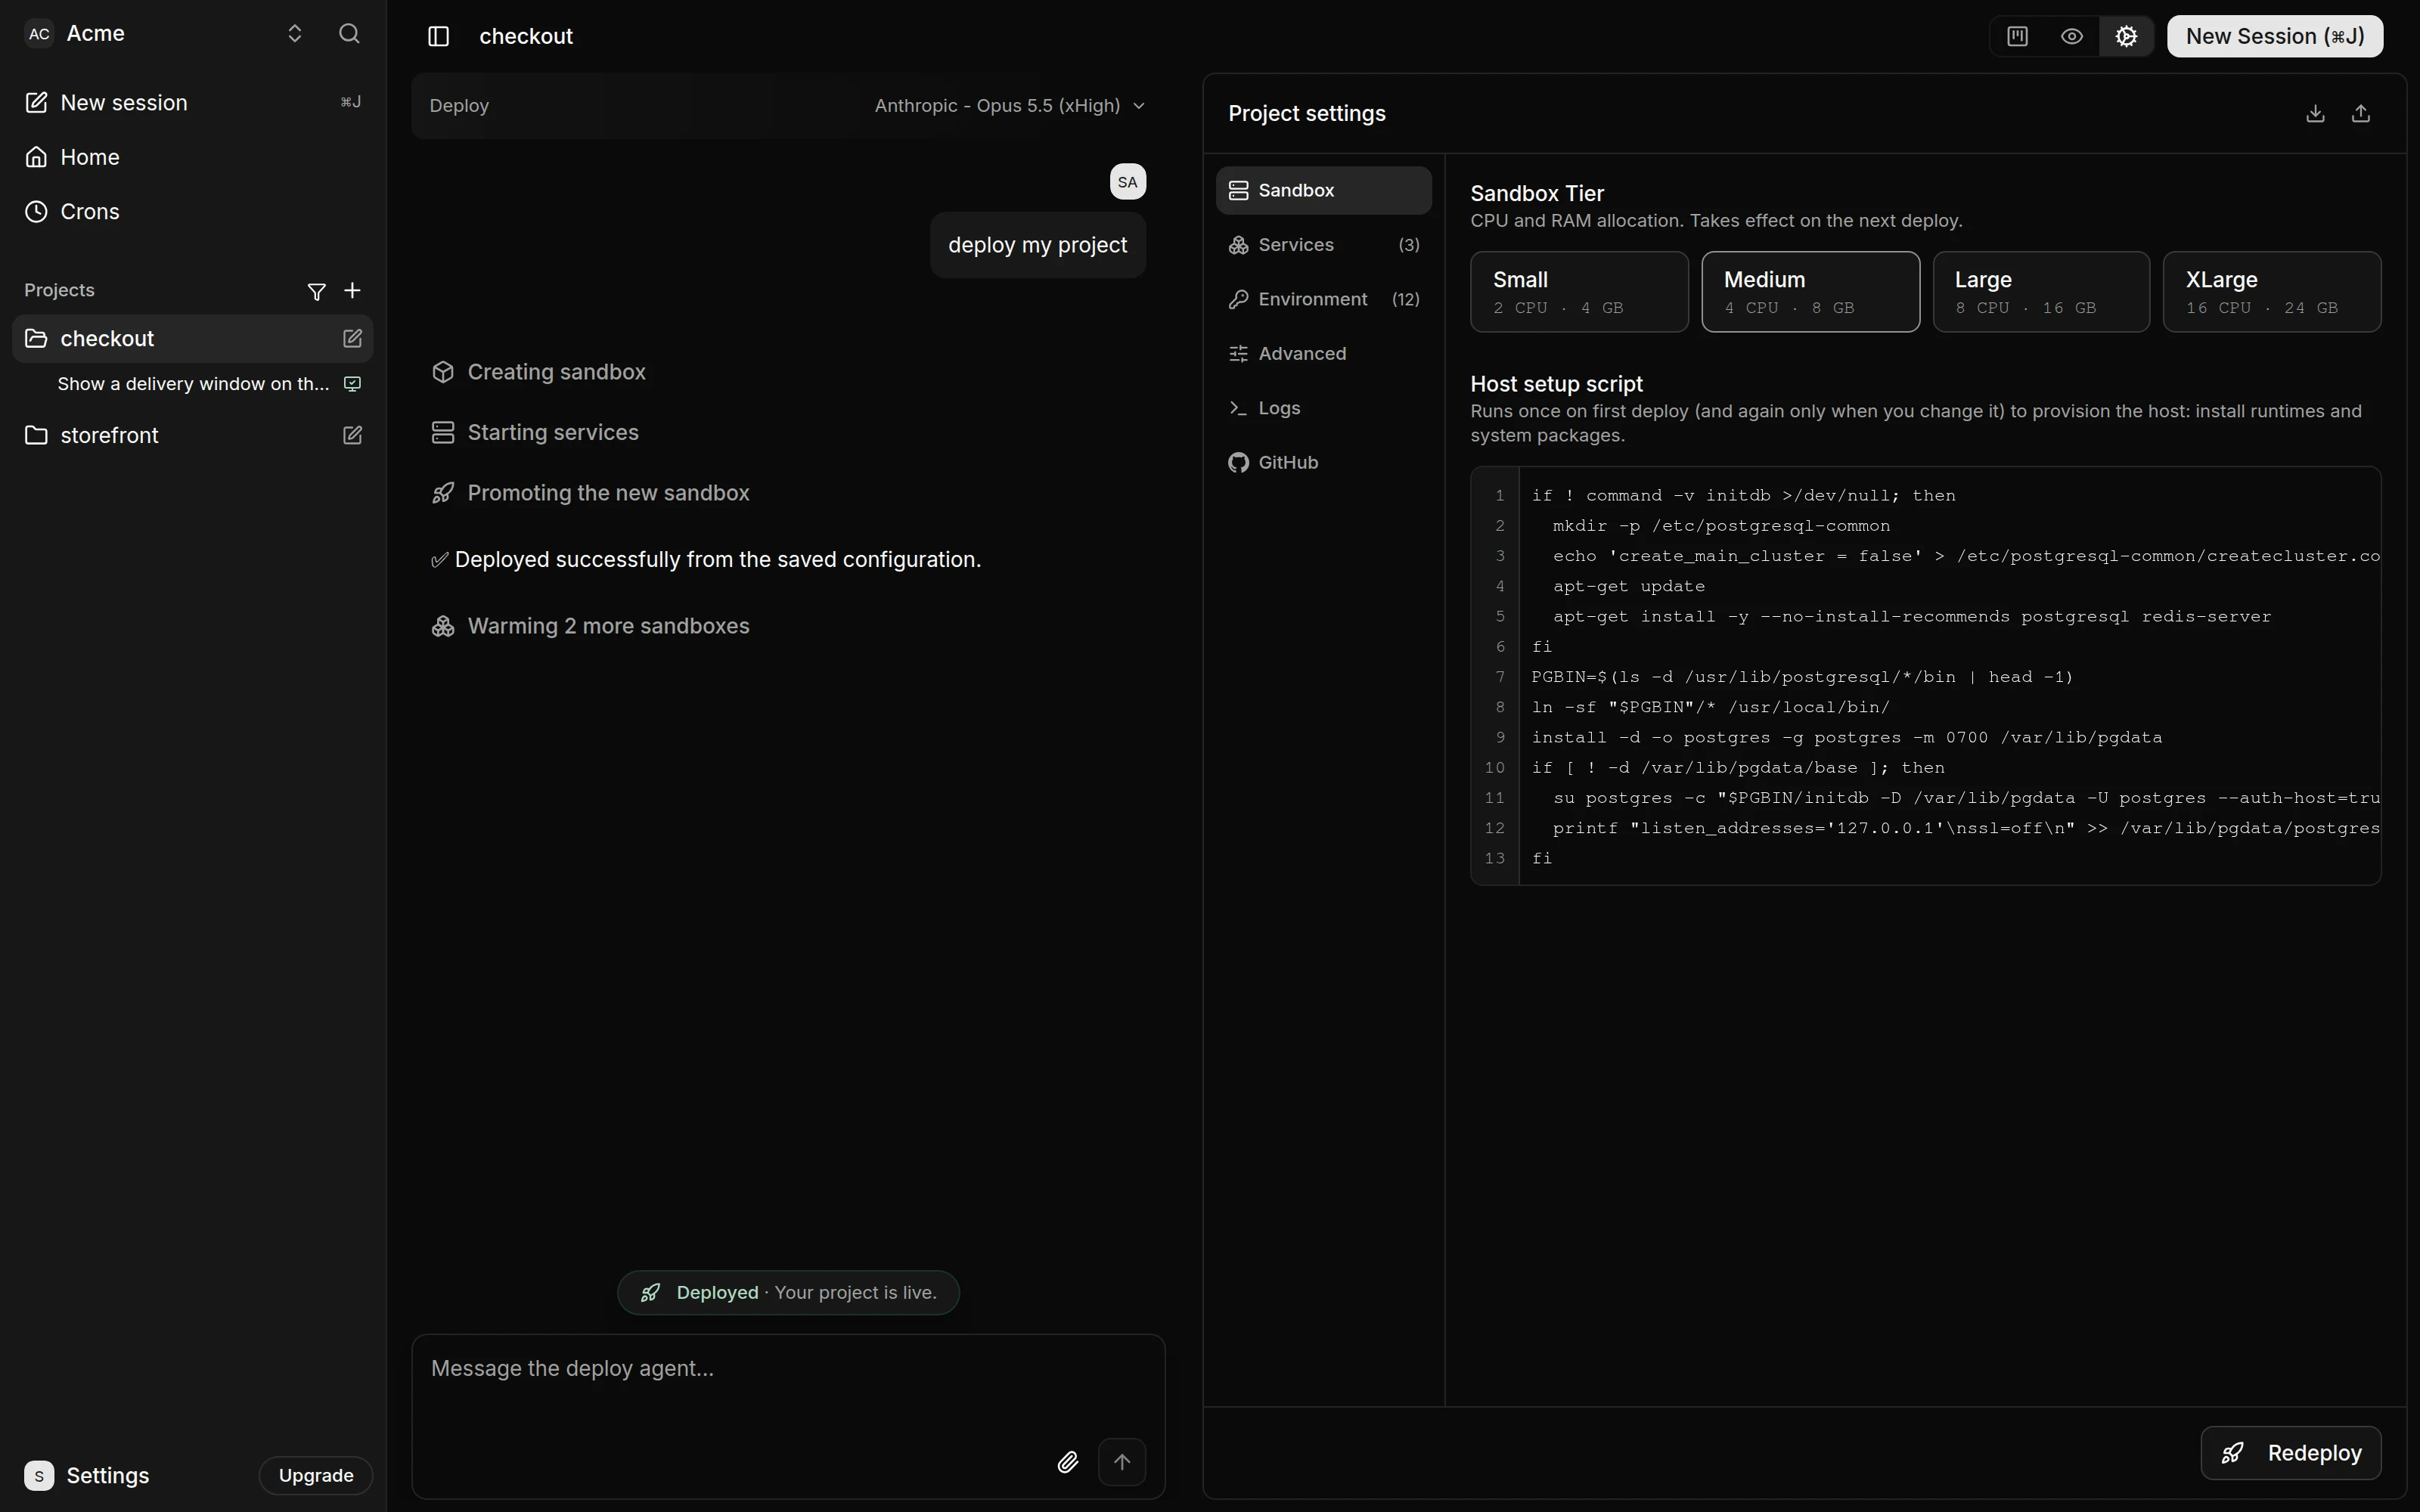
If the deploy fails, a Deploy failed banner appears. Open the Logs tab on the right to see why. Then tell the deploy agent what to fix, or press Retry Deploy. See Deploy your project.
Open your preview
- In the project header, press Preview, the eye icon.
Your app opens in the Preview. Click through it to check that it runs. The checklist ticks "Open your preview".
Start your first session
- In the project header, press New Session, or press ⌘J (Ctrl+J on Windows and Linux).
- Leave Start now selected. Describe one small change the way you would to a teammate, for example "Show the delivery date on the orders table."
- Pick a model in Model, or keep the one shown. Press Start session.
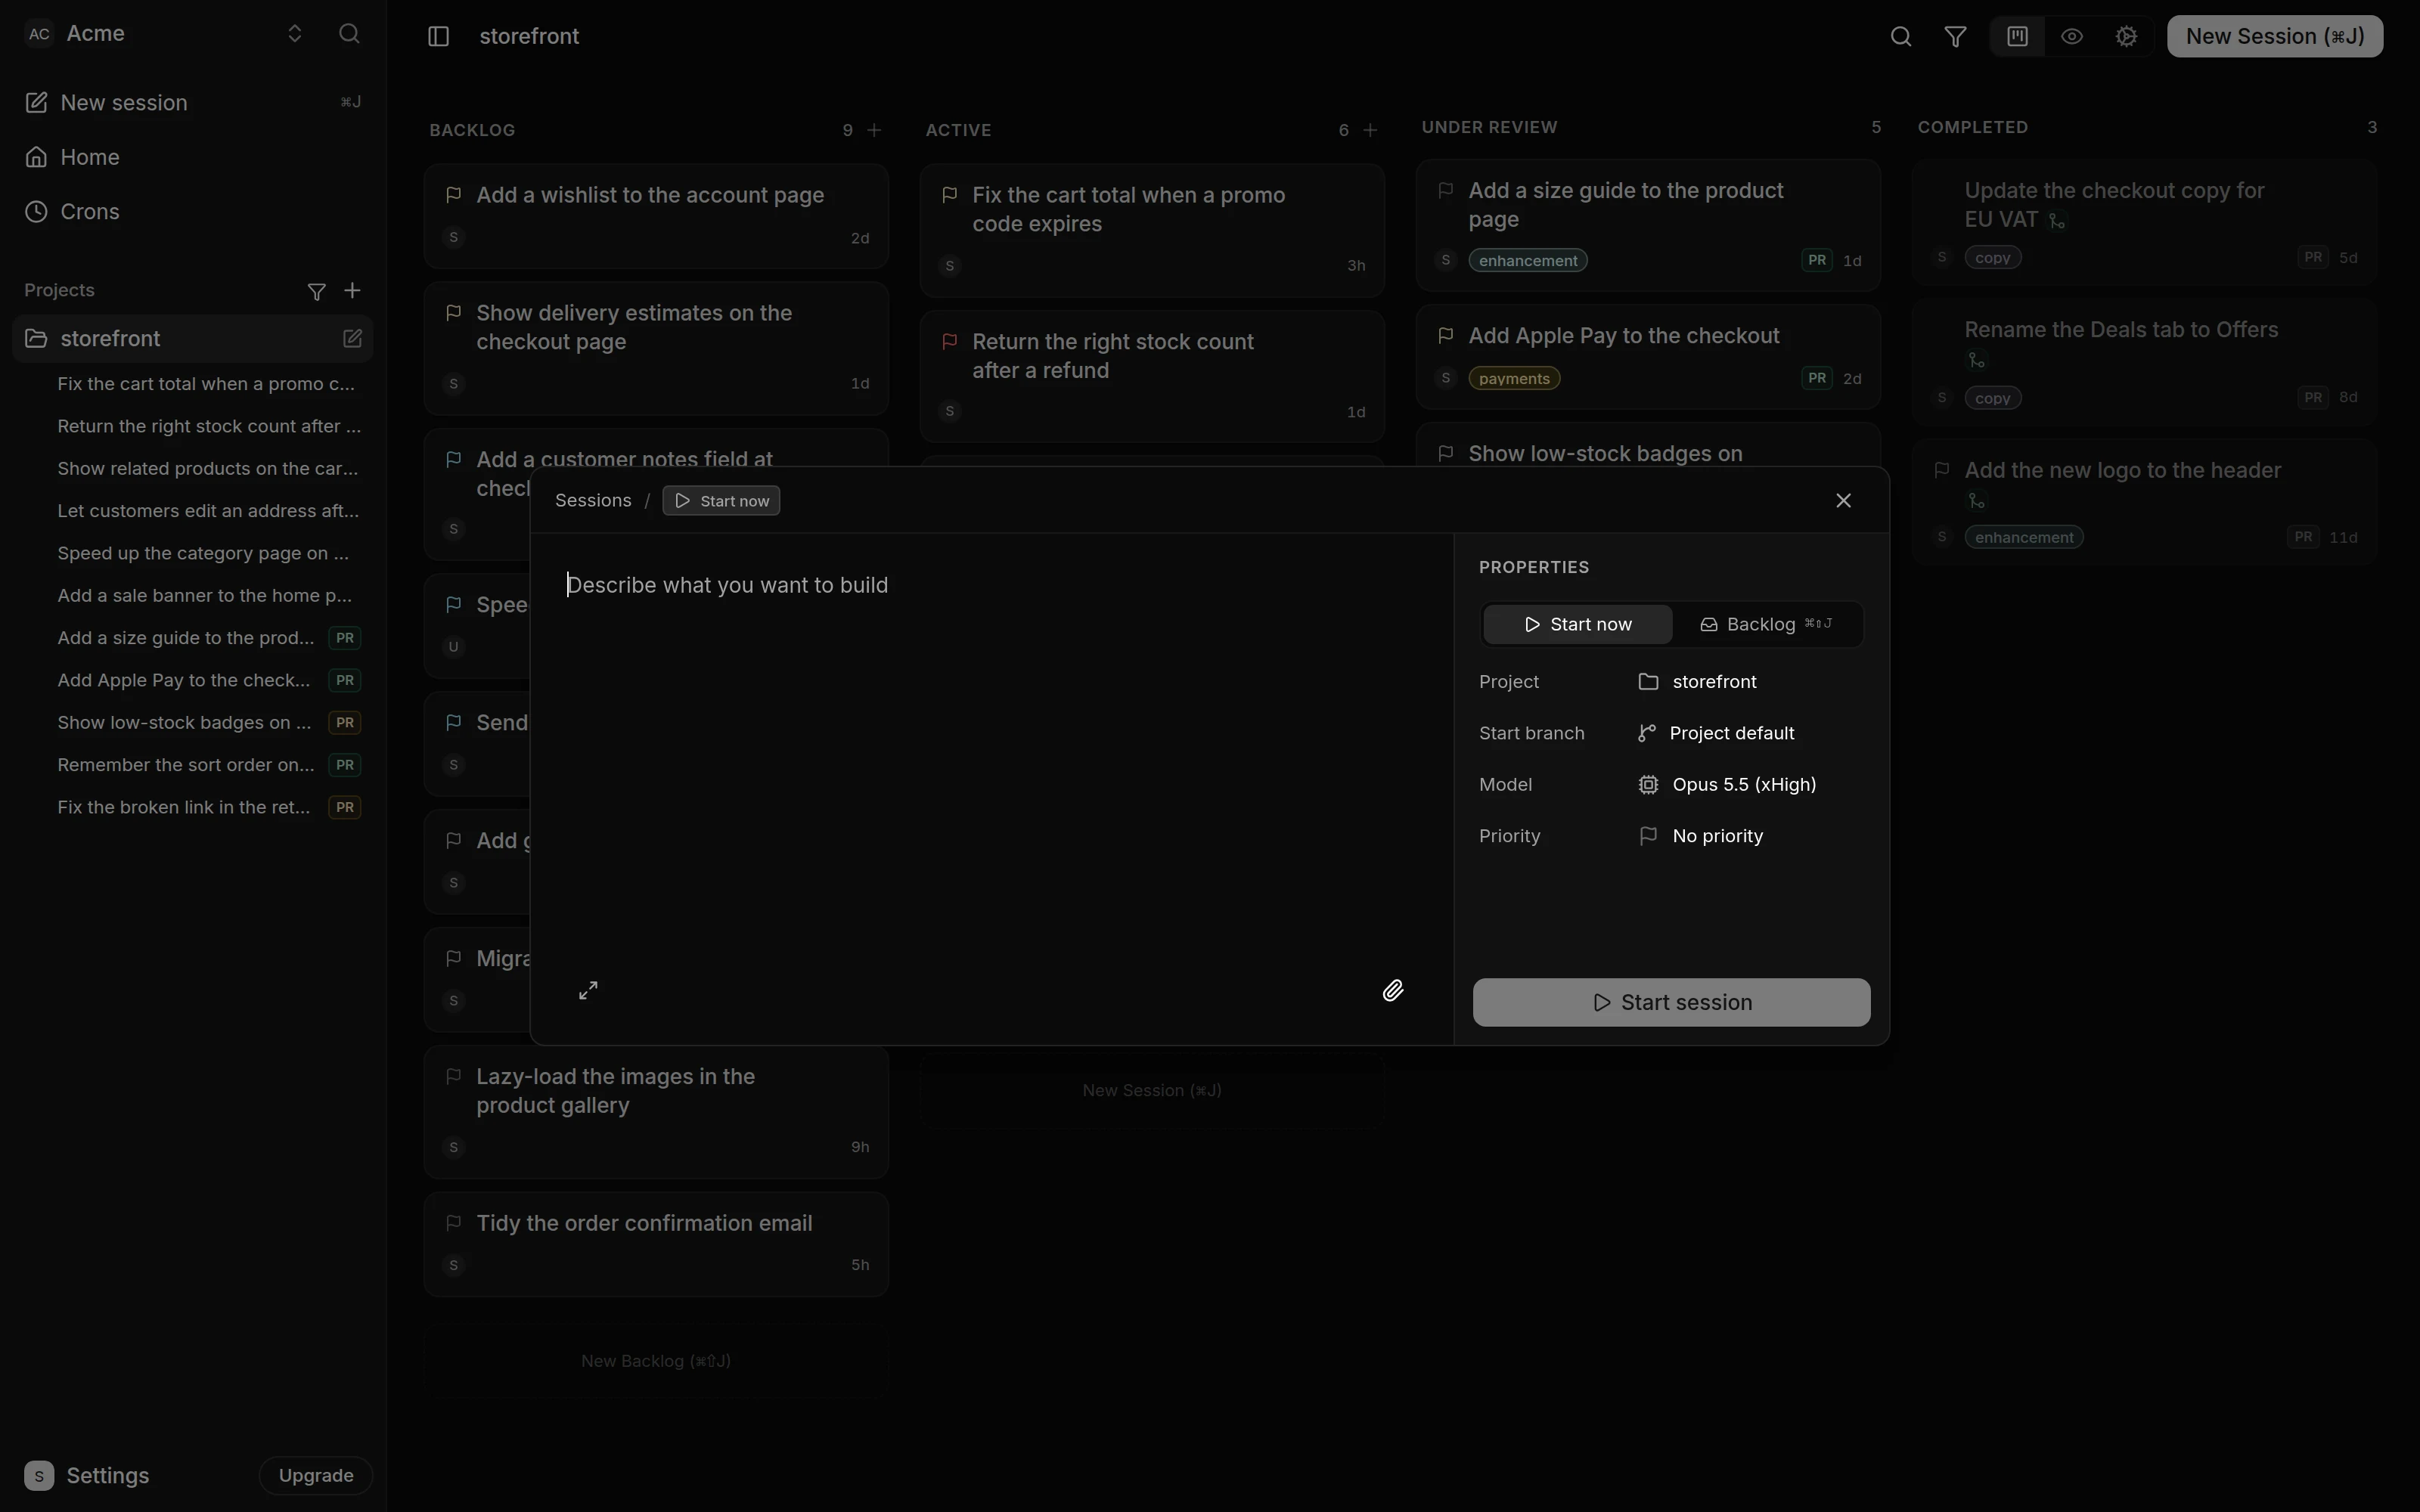
The dialog closes, and the session appears in Active on the board and under the project in the sidebar. The checklist ticks "Start your first session". Click the session to open the conversation on the left and your app on the right. The agent works on a new branch, in a sandbox of its own. While it works, a stop button sits in the message box beside the send arrow. When the stop button goes away, the agent has replied and the turn is over.
Check the work
- Open the Preview tab and try the change in your app.
- If something is off, type a correction and send it. A message you send while the agent works waits in Up next, above the message box, and runs when the current turn ends.
- Open the Changes tab to read the diff.
If the agent asks you a question, answer it in the chat. It waits for your answer. See Messages, Up next and steering.
Open a pull request
- Press Open PR, beside the message box.
The agent commits any pending work, pushes the branch and opens a pull request on your repository, ready for review. The session moves to Under Review. A Ready for review banner with the pull request number appears above the message box. Press Resume, or send a message, to keep working. The checklist ticks "Open a pull request".
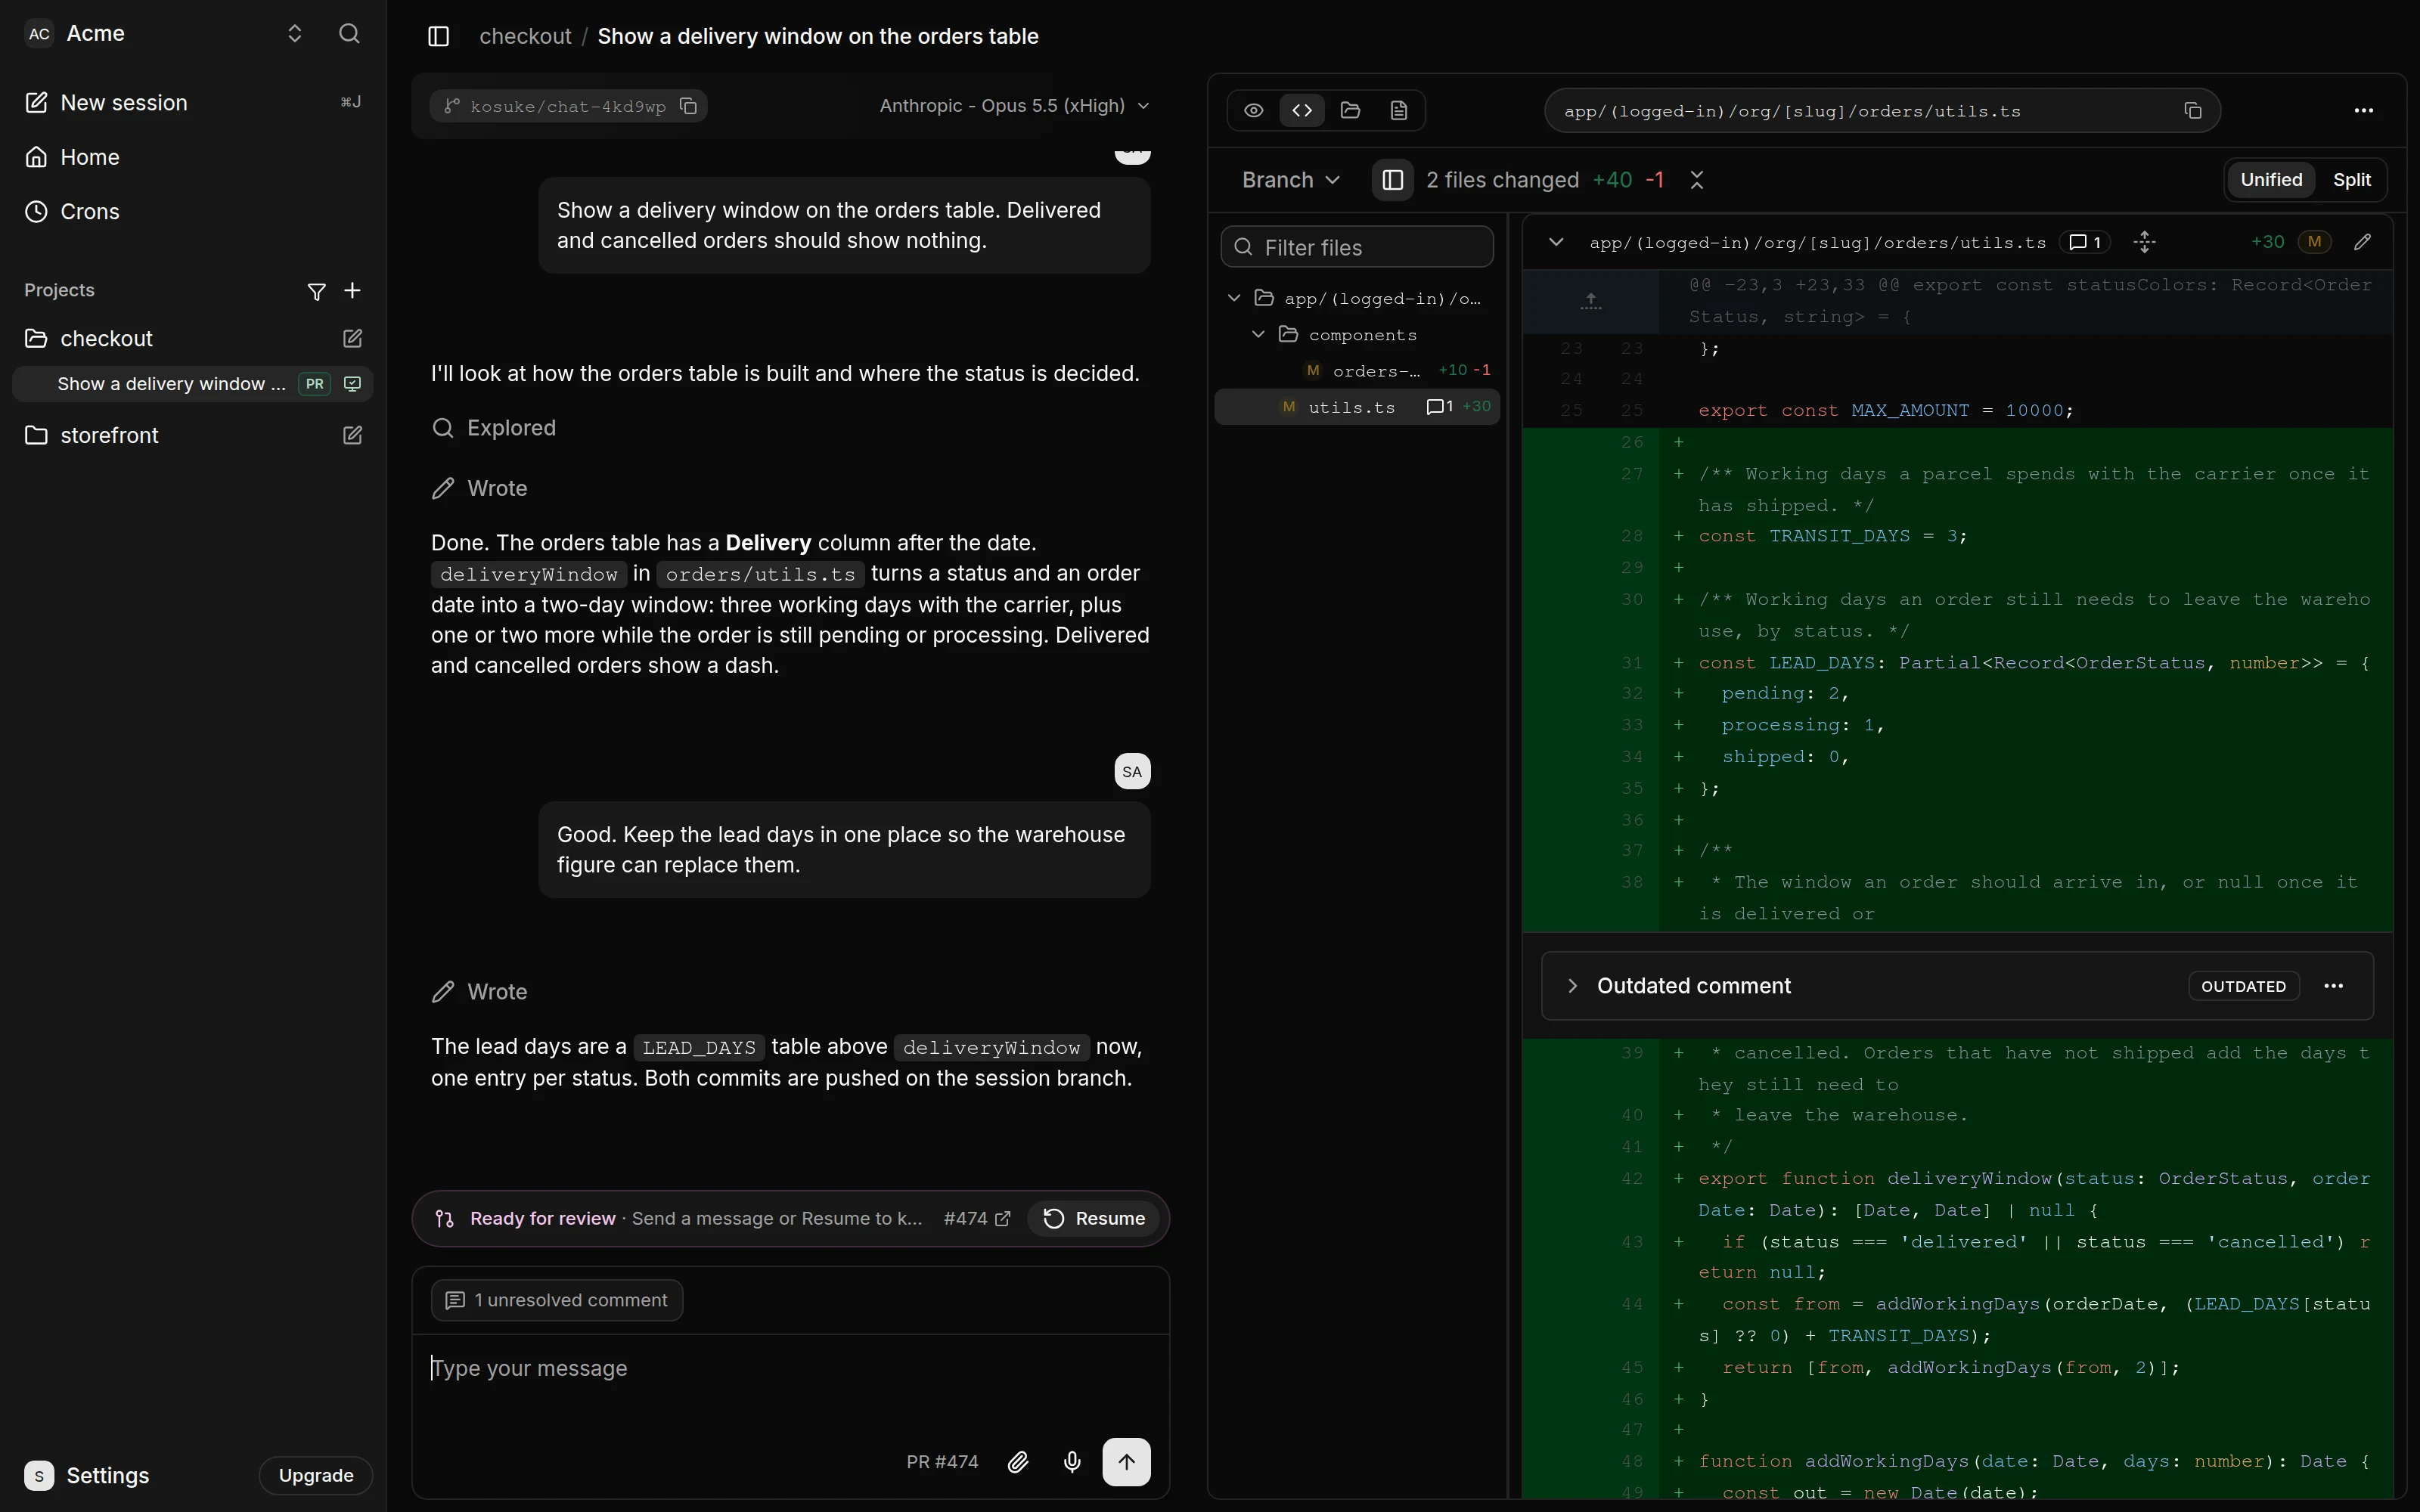
If you see Commit or Push where Open PR should be, some changes are still only in the sandbox. Press Commit or Push first. To keep working on the pull request, press Resume. See Open a pull request.
Merge your first PR
- Open the pull request on GitHub from the number in the banner.
- Merge it as you would any other pull request.
The session moves to Completed, and Kosuke removes its sandbox. The checklist ticks "Merge your first PR". The sidebar reads "You shipped your first change".
If something goes wrong
| What you see | What to do |
|---|---|
| "GLM does not run the deploy agent yet" or "Kimi does not run the deploy agent yet" in the Deploy Chat | Ask an admin to connect Anthropic or OpenAI in Settings > Workspace > AI Providers. |
| Your repository is greyed out in the Import Project dialog | Click Install App beside it and add the repository on GitHub. You come back to the dialog. |
| "Project setup not complete" when you start a session | Deploy the project first. |
| The Preview tab reads "Preview paused" | Press Start preview. |
For more symptoms and fixes, see Troubleshooting.